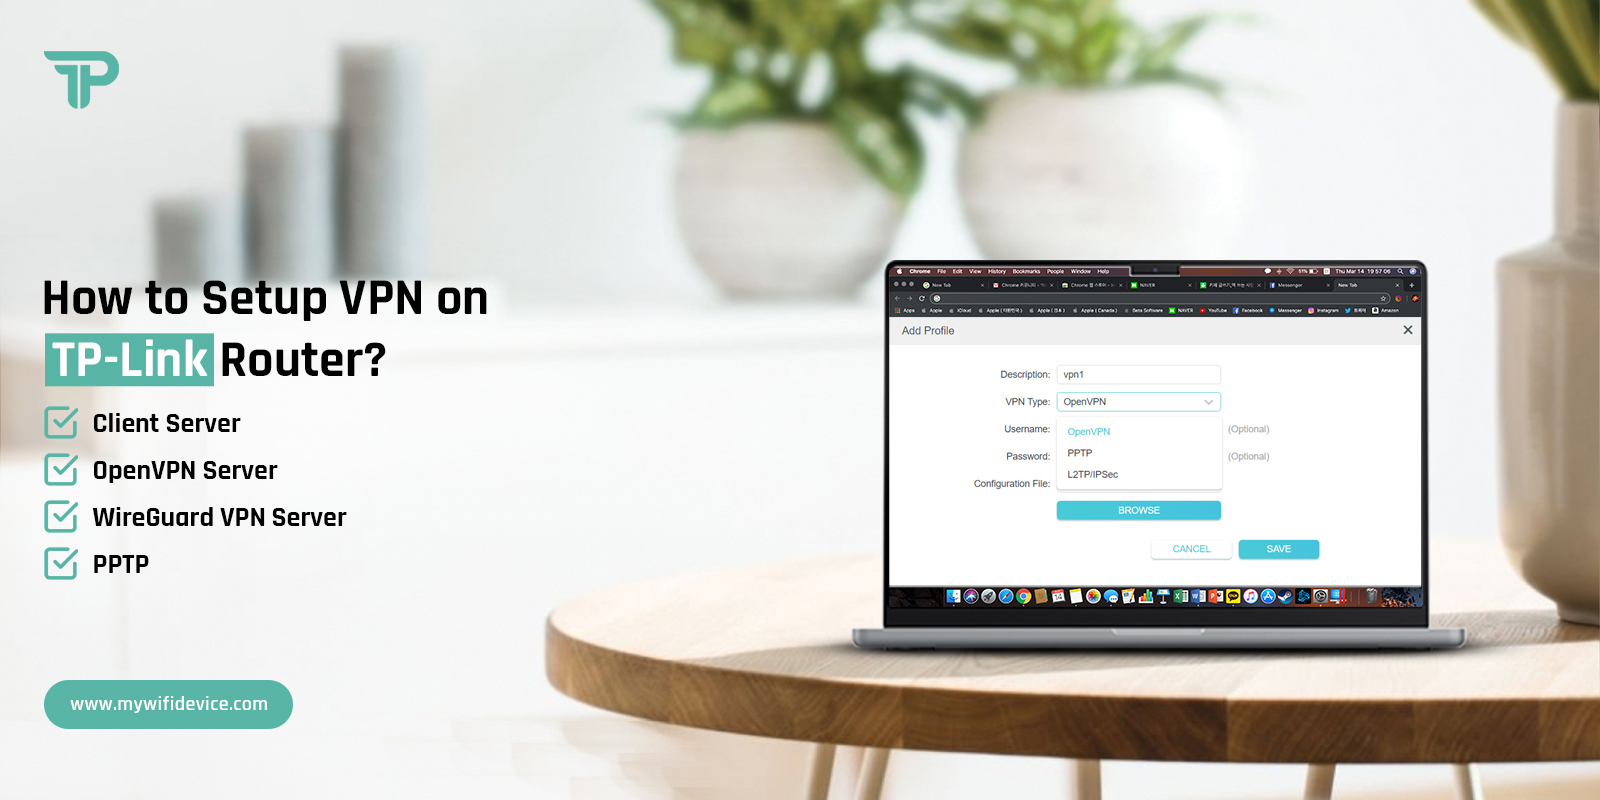
How to Setup VPN on TP-Link Router?
In the interconnected world, there can be observed an emerging trend of setting up a VPN on a router. If you make an effort to know the easiest and the most reliable way how to setup VPN on TP-Link router, you can surely win the game. Apart from this, you can also establish a protective layer of digital privacy.
Whether you are in your house, office, or outside of your premises, TP-Link router VPN setup will allow you to connect any device to the Wi-Fi automatically. Through the secured VPN setup, you can achieve success in completing your aim by hook or by crook.
Are your privacy and digital security rapidly losing their opacity? Has it become hard for you to survive in this world? This blog post is for you to rescue you from any sort of potential harm. Once you walk through this blog post, you will know the way to set up a VPN on your TP-Link router.
What are the Requirements for TP-Link Router VPN Setup?
Being a user of a TP-Link router you need to know about the necessities that you must have to set up a VPN on it. Under this section, you will definitely come to know about the fundamental requirements to set up VPN server on TP-Link router.

Strong Internet Connection

A Smart Device

Accurate Web Address & IP Address

Correct Login Credentials
How to Setup a VPN Server on a TP-Link Router?
Do you have the desire to set up a VPN server on your TP-Link router? If so, you have to keep your eyes on the information mentioned following-
VPN Setup on TP-Link Router Using the Web GUI
- To begin with, connect the router network to the computer/laptop.
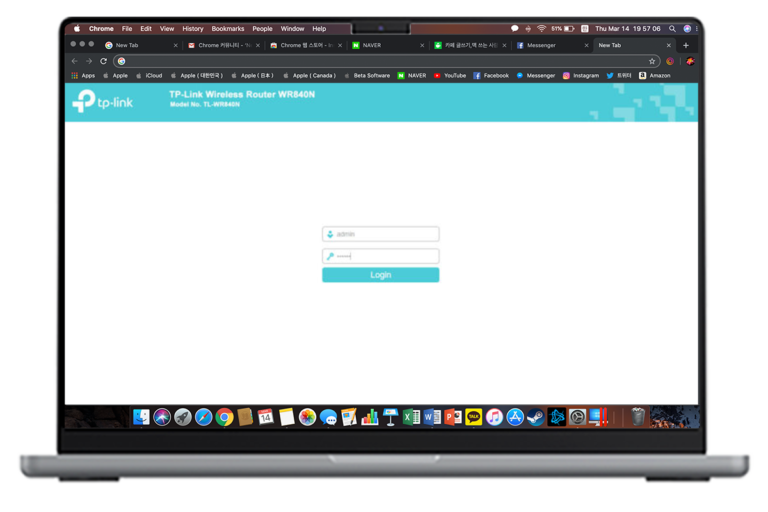
- Open the web browser and type the tplinkwifi.net or 192.168.1.1 IP in the URL bar of the browser.
- Further, mention your admin username and password on the login window.
- Here, you reach the smart setup wizard of the router.
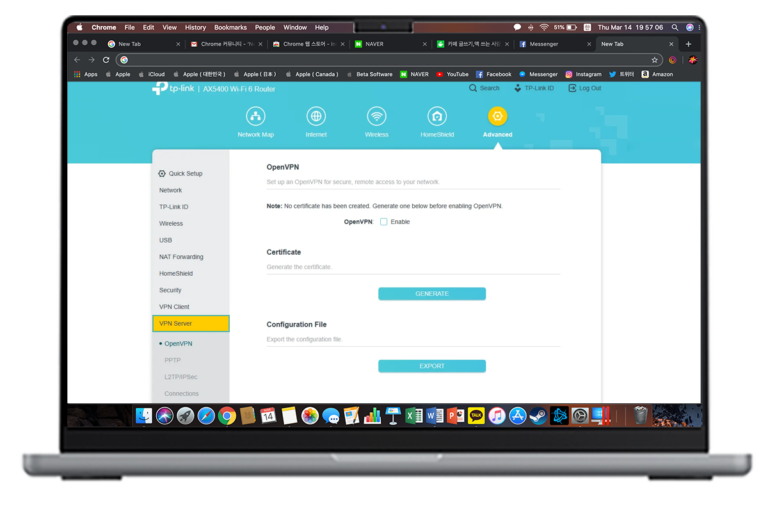
- Now, visit System Status>Advanced>VPNServer.
- Hereon, you get the three options PPTP, L2TP, and OpenVPN.
- Further, select the Open VPN type by adding a mark to the check box for Enable VPN serve.
- After that, fill in the information that your VPN server provider gives you which generally includes an IP address, subnet mask details, etc..
- Next, follow the instructions mentioned on your screen to complete the procedure.
- Click on Save and then Export to download the configuration file.
- Now, go to the Downloads on your PC and configure the file to your Windows version.
- Paste the config file into the config folder shown in the OpenVPN directory.
- Follow the further instructions to configure the file.
- Finally, the VPN setup on TP-link router is done.
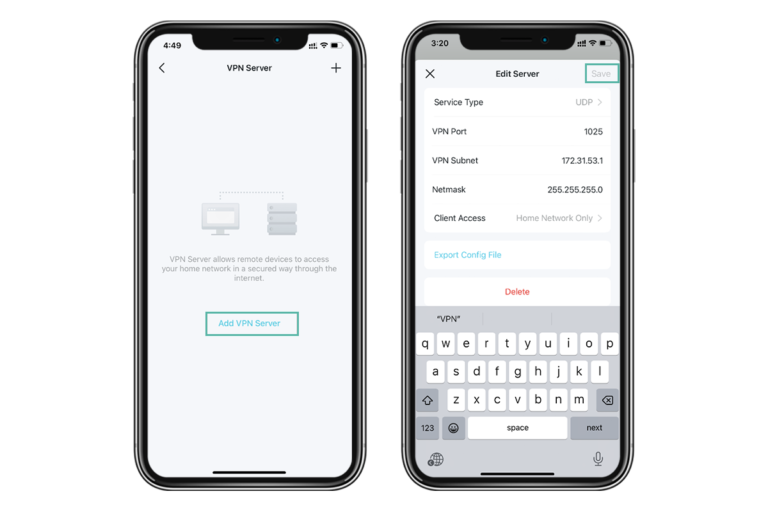
Setting Up VPN on the TP-Link Router Through the App
- First and foremost, ensure you have an updated app version on your smartphone.
- Next, open the app and log in to your app account by using admin details.
- After logging in, you reach the smart dashboard of the app.
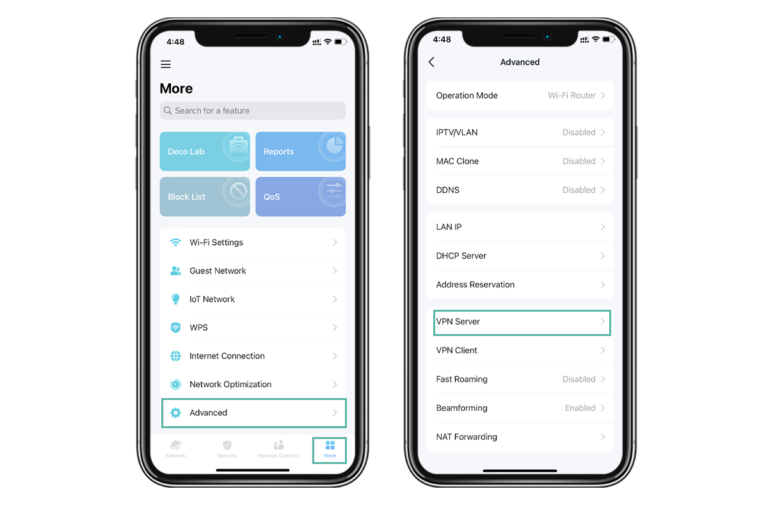
- Further, go to the More>Advanced Settings>VPN.
- Here, select the VPN type that you require, e.g. VPN Client.
- Now, click on the Enable option to proceed with the VPNClient.
- Generally, PPTP VPN is more common and supportive of all primary networking systems.
- If you go ahead with any third-party VPN, then type the information provided by your VPN authority, and browse the file.
- But if you use the in-built VPN, then follow the guidelines shown on the screen.
- Next, tap on Client List and “+” to add devices that will work with the VPN.
- After that, click on Access Permissions to authorize the devices.
- Or, you can opt for the Client List option for VPN use.
At last, click on the Save to apply settings that you have made on the router.
How to Troubleshoot TP-Link Router VPN Not Working?
While setting up the VPN server on the TP-Link router, you may face a few complications. Generally, such complexities can easily be resolved with the help of the key fixes given in this blog. Let’s have a glance at the troubleshooting tips given below-
- Make sure that the internet connection is stable.
- Ensure sufficient power supply on the router.
- Cross-verify the web & IP address while entering them.
- Double-check login credentials before using them.
- Look at the Ethernet cables as they are not faulty or don’t have loose connections.
- Update router firmware it prompts on the window.
- Power cycle your Tp-link router to fix the internal glitches and bugs.
- Make sure you have entered the accurate VPN details that your VPN provider sends you.
- Select the VPN type carefully before you configure it.
- Disable security software like Firewall or antivirus as they can hinder the procedure.
- If nothing else works, then factory reset your router and reconfigure it from scratch.
- Ensure you are using an updated app version.
- Also, fix the web browser issues and delete the cache and cookies.
Bottom Line
All things considered, it is convenient to setup VPN on TP-Link router as it has a simple user interface. Additionally, to assist you with the complete VPN setup details, we share this brief guide with you. Here, you can go through each procedure with complete steps. Also, if have issues during the VPN configuration, then check the troubleshooting section to fix those errors. If still seeking more help, reach out to us!