Home’s State Of Mind
pocket-friendly rates as per the size and layout of your premises
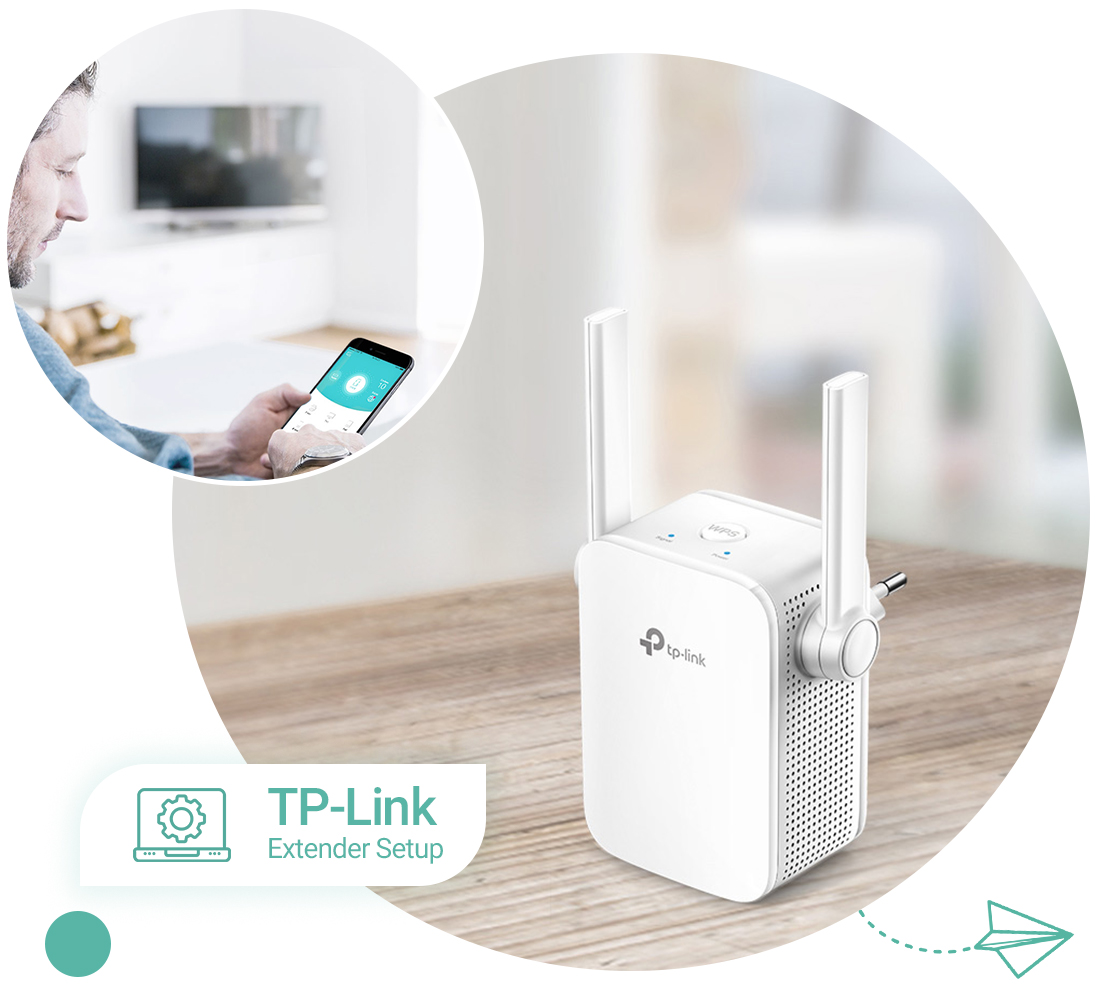
TP-Link Extender Setup
Extenders are the next best thing in the networking world. With the help of extenders, you can receive high-speed internet in all the dead zones. Even with a router, you cannot receive proper network coverage in all corners. If you are looking for one, the TP-Link extender is a great one. You must proceed with the TP-Link extender setup to get the best out of it.
To set up the extender, you must log into the extender’s web interface. Once you are logged in, you can configure the extender’s settings accordingly. Precisely setting up the extender will ensure optimal functioning of it. Thus, you must know the proper way to do the TP-Link WiFi repeater setup.
You just need to know the TP Link extender setup to accurately do so. That’s why we are here with this post to help users set up their devices. This post will explain the complete procedure for setting up the extender. We will also go over the issues you can face along with the troubleshooting methods you can use.
Requirements for TP-Link WiFi Extender Setup
Before the setup, you must gather the required information to set up the extender. With the requirements, you can set up the extender easily. You require the following things for the setup:

A setup router

An Ethernet cable

IP address/ tplinkrepeater.net

Default login credentials

Smartphone or PC
These are some requirements you must have for the TP-Link extender setup. Further, we will explain the steps for the setup.
How to Setup TP-Link Extender?
To set up the TP-Link extender, there are three methods you can use. You can either set it up through the web interface, the WPS button, or the Tether app. In the first method, you can either use the IP address or the tplinkrepeater.net address. For the second method, you can set it up within a few minutes using the WPS button. In the last way, you need to log in through the Tether app. You can set it up following the below-mentioned instructions:
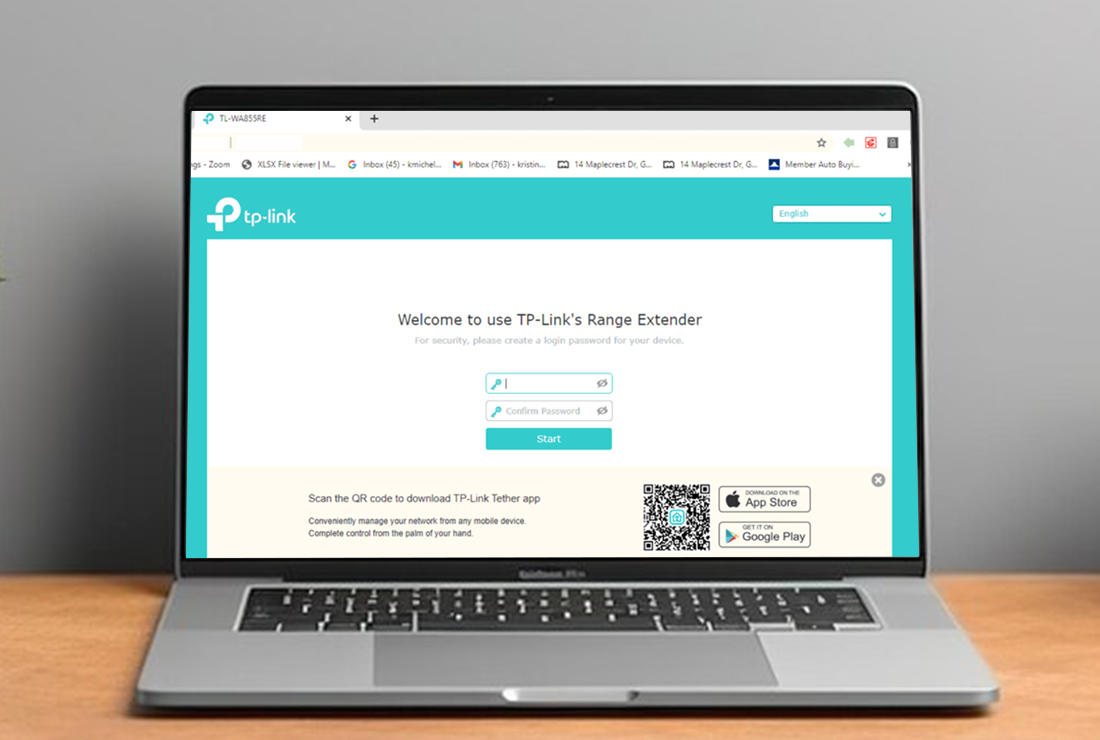
How to Setup TP Link WiFi Extender Through the Web Interface?
- To begin with, power on the extender and router and place them together.
- You need to connect your device to the extender’s network for the setup.
- Now, open a web browser and enter http://tplinkrepeater.net in the address bar.
- You can also use the IP address to access the login page of the extender.
- Hereon, enter the username and password in the given fields of the page.
- You will be logged into the web interface and you can change the login credentials.
- The extender will search for all the available networks around the extender.
- After that, select yours and enter the password to form a connection.
- Once the connection is successful, you can configure the settings properly.
- At last, relocate the extender and connect your devices to it.
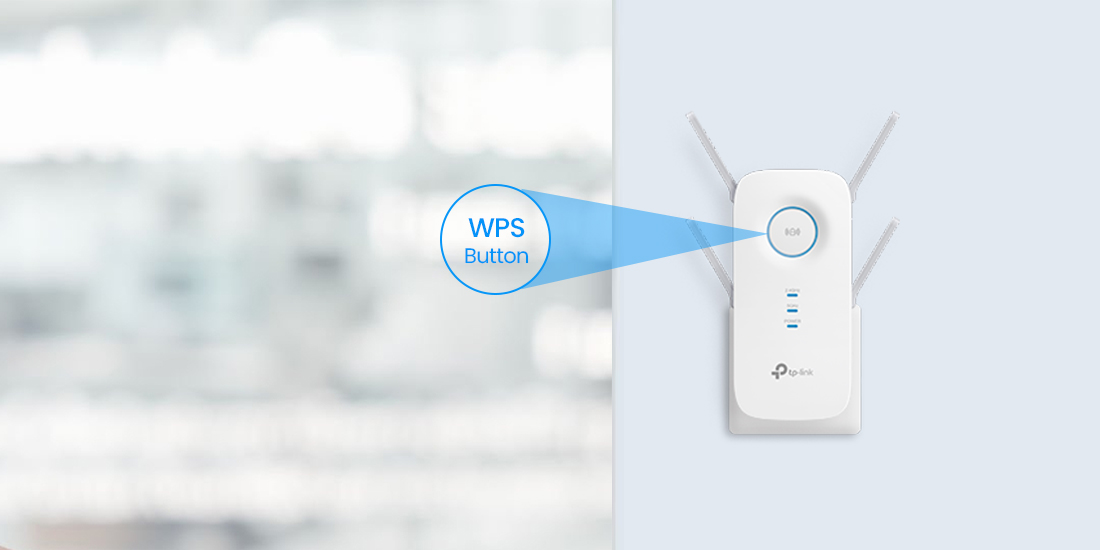
TP-Link Repeater Setup Using the WPS Button
- Primarily, power on the extender and router and keep them next to each other.
- Now, press the WPS button on the router to activate it.
- Within 2 minutes, press the WPS button on the extender.
- Give the extender some time to connect to the router.
- Finally, you can relocate the extender and connect your devices to it.
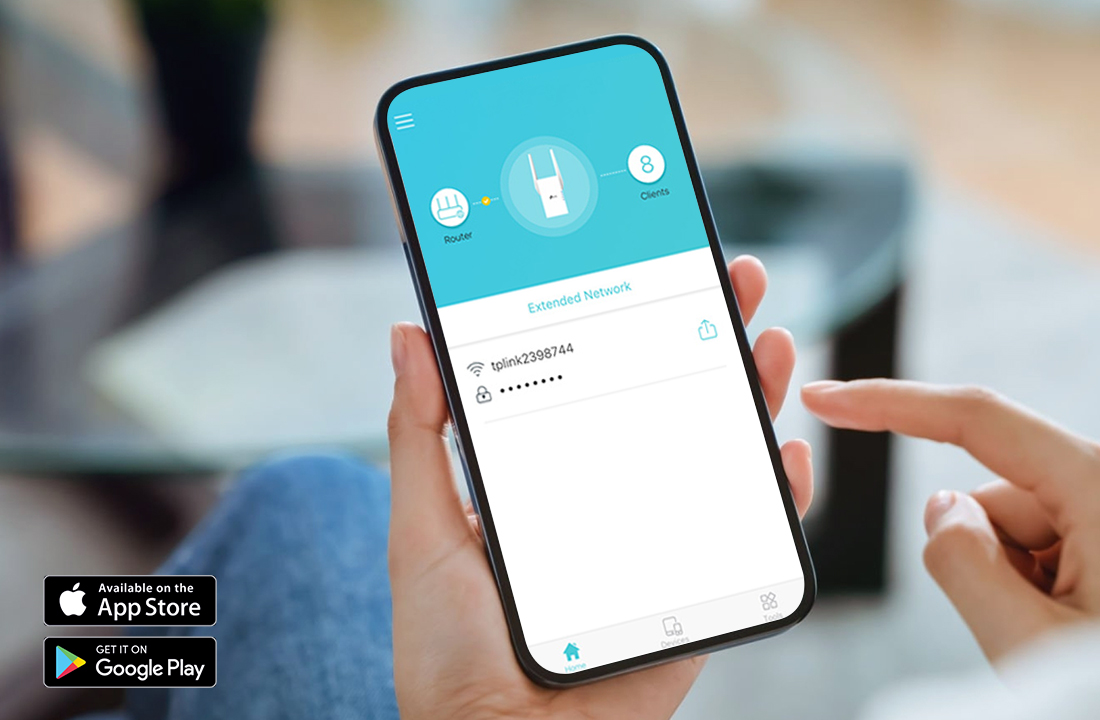
TP-Link WiFi Extender Setup Via the App
- Firstly, install the Tether app on your smartphone.
- Now, from the app, log into your account using the account details.
- If you don’t have an account, you can create one from the app.
- Hereon, log into the app using the correct information.
- Add the extender to the app and follow the instructions.
- Lastly, set up the extender and connect your devices to it.
These are the steps for the TP-Link WiFi repeater setup. Once you are done with the setup, you can place it near the dead zones. Also, ensure to keep the extender inside the router’s network range for optimal functioning. If you are facing issues with the setup, keep reading ahead.
What Are the Common TP-Link Extender Issues?
You can face several issues with your TP-Link extender. To make the most of this extender, you must eliminate the issues. Some common problems are as follows:

Setup issues

Extender not connecting to the router

Login problems

Technical glitches
These are some common problems that users face with the TP-Link extender. We will further explain the troubleshooting methods.
How to Overcome the Tp Link WiFi Extender Errors?
There are several methods you can use to fix the TP-Link WiFi extender setup and other issues. Some effective ones are as follows:
Examine the Power Supply
For the extender to work correctly, a steady power source is needed. An appropriate power source is necessary for the extender to operate at all. Thus, make sure the extender is plugged into an operational electrical outlet. Verify that the extender is powered on currently and that it functions. If not, you need to connect the extension to a different power outlet.
Inspect the Router
The problems can also be related to glitches with your router. If the router isn’t functioning properly, the extender will not connect to the router. So, ensure to fix the router before you connect it to the extender. To troubleshoot the router, you can try power cycling, updating the firmware, or resetting it to fix the Tp link extender setup issues.
Fix the Login Issues
If you are having trouble logging into the extender, you must fix it. Check the login credentials you are using to log into the extender. If they are incorrect, you need to enter the correct one. Also, there could be issues within the web browser and app causing the login issues. So, you must eliminate them as well.
Move the Extender to the Router
Another problem is the distance between the router and the extender. You can move the extender close to the dead zone after setup. However, you have to remember that the connection will break if you place it too far away. As a result, the extender and router shouldn’t be positioned too far apart. Make sure it stays within the router’s limited coverage area. This should eliminate the extender not connecting to the router problem.
Factory Reset the Extender
If all other solutions fail, you must reset the extender. To reset the extender, locate the reset button on the extender. Now, press the reset button and hold it. The button can be released after 6-10 seconds to restore the factory default settings. Now, you can set it up from scratch.
Conclusion
We hope you understand the procedure for the TP-Link extender setup. Once you are done with the Tp link repeater setup, you can ensure top-notch functioning from it. If you face any issues, you can check out the troubleshooting methods you can use. If you require assistance with anything else, you must connect with our team.

Frequently Asked Questions
Yes, you can set up the extender using either Android or iPhone. All you need to do is either log into the web interface or the Tether app. Once you are logged in, you can follow the instructions to set up the extender properly. Otherwise, you can set up the extender using the WPS button.
To configure the TP-link extender as WiFi repeater, you must log into the user interface. When you are logged in, you will have complete access to the extender’s settings. From the interface, you can configure the extender as the WiFi repeater.
Yes, you can connect the TP-Link extender with any WiFi router. So, you won’t have to worry about finding a compatible router for your TP-Link extender. Just log into the extender and connect it to the router following the guidelines.
You can find the WPS button on the top of the TP-link extender. It’s usually on the top only. If you are having trouble finding the WPS button, you can look at the manual as well. You will see a button with WPS labeled on it.