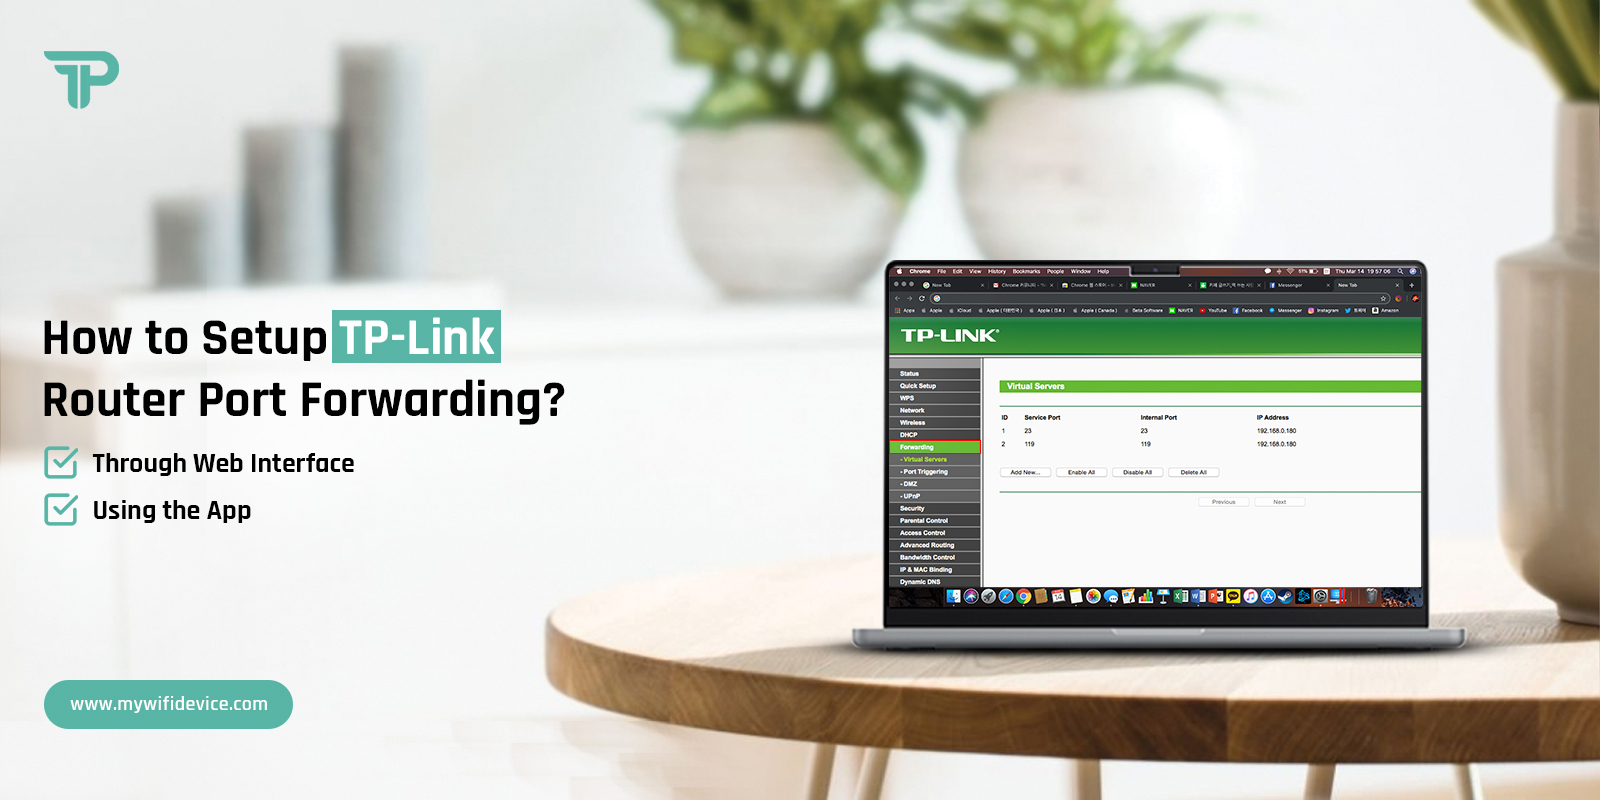
How to Setup TP-Link Router Port Forwarding?
Nowadays, users are having trouble connecting their routers to other smart devices, gaming stations, and other networking devices. If you have tried so many troubleshooting measures, but still have not gotten satisfactory outcomes; you must know that it is all because of your router. In case your router has blocked access to servers, you need not be anxious about this. In such circumstances, TP-Link router port forwarding may help you!
Does it sound daunting to you? Calm down! It is no more difficult than deactivating or putting an end to a spike. So, without wasting time, let’s proceed and be able to keep your local network safe.
Essentials We Need
Do you have the desire to set up port forwarding on TP-Link router? If really so, it is a must for you to be aware of key necessities that you must have before going to kick start the process. So, without delay, let’s have an overview of all the key essentials that have been mentioned below-
- Stable internet connectivity
- Correct login credentials
- TP-Link router
- Damage-free Ethernet cable
- Web Address and IP Address
- Well-functioning smart device
Port Forwarding TP-Link WiFi Router
There are a few users who are not familiar with how to do port forwarding in TP-Link router. If you are one of those users who have no exact idea about it, you are in the right section. Under this section, you will definitely come to know both of the methods to perform port forwarding on TP-Link router. So let’s have a glance at the steps mentioned in both the methods given following-
Port Forwarding Through The Web Interface
- Open a web browser and enter your router’s default gateway address 192.168.0.1 or 192.168.1.1.
- Log in using your router’s admin credentials.
- Depending on your TP-Link router model, find the relevant section.
TL-WR840N, TL-WR940N, Archer C20, Archer C50, etc.
- Go to Advanced > NAT Forwarding > Port Forwarding.
Archer A9, Archer C7, Archer AX10, Archer AX6000, etc:
- Click on “Forwarding” and then “Virtual Servers”.
Archer A8, Archer AX55, Archer AX90, Archer AX11000, etc.:
- Specify the entry details (e.g., service name, interface, internal/external port, internal server IP, protocol, and status).
- Click “Add New” or “Add”.
- Enter the following information:
- Service Port( The external port), Internal Port( The port on the internal device), IP Address( local IP address of the device), Protocol( Choose “All” or the specific protocol (TCP/UDP)), Status( “Enabled”).
- Click “Save” or “OK” to apply the settings.
- In the end, you have to test the Configuration.
Port Forwarding TP-Link Router Via App
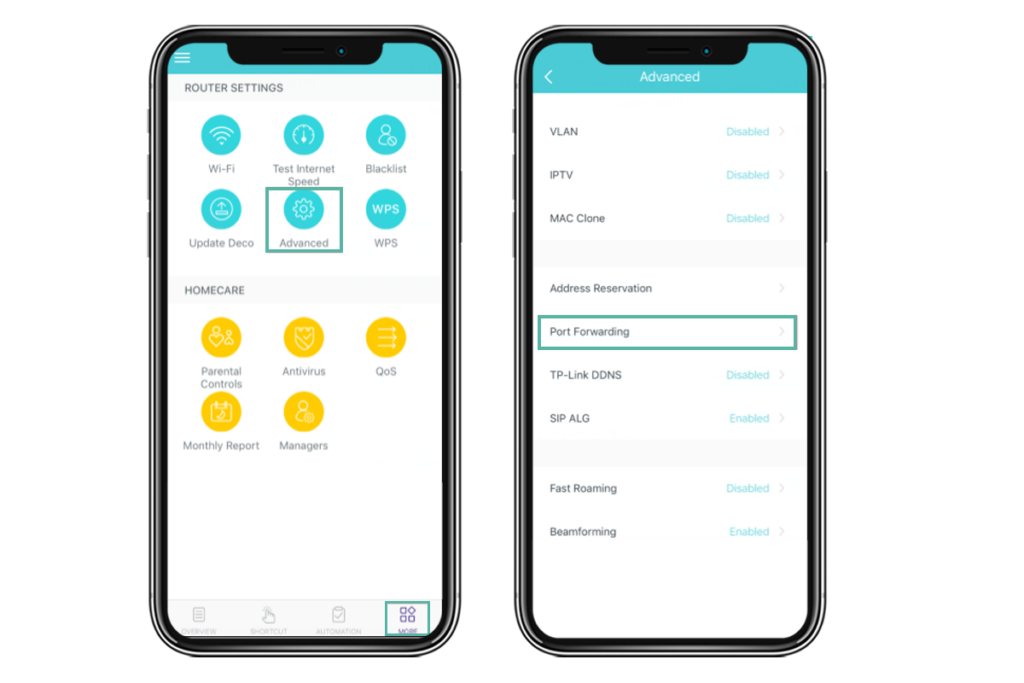
- Launch the Deco App on your mobile device.
- Tap on “More” in the bottom right corner.
- Select “Advanced” and then, “Port Forwarding”.
- Tap the “+” icon at the upper right corner or click on “Add Port Forwarding Rule”.
- Specify the details:
Service/Application Name, External Port Range, Internal IP Address, Internal Port Range, Choose “All” or the specific protocol (TCP/UDP), and Set Status to “Enabled”.
- Click “Save” to apply the settings.
How to Setup Port Forwarding on TP-Link Modem Router (New Logo)?
- First of all, login to the web-based management interface of the modem router with the use of the IP address- 192.168.0.1.
- Next, go to More> Advanced> NAT Forwarding>Port Forwarding.
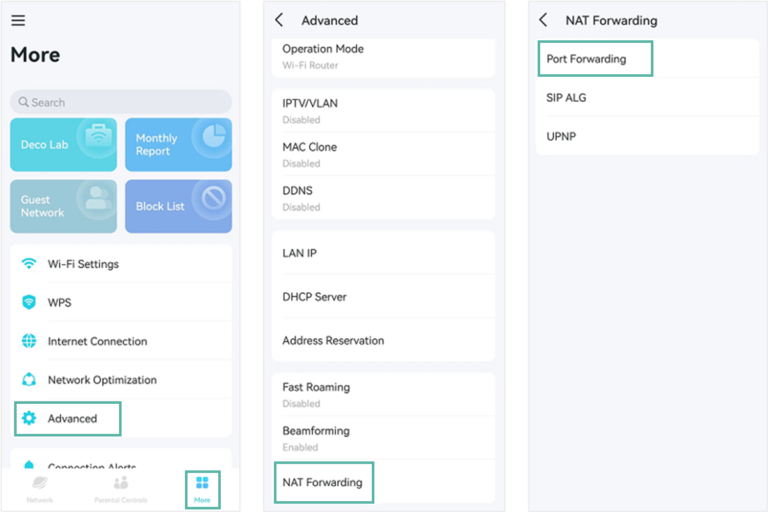
- Now, click on (+) Add.
- After that, enter the details namely- “Service Name”, “External Post”, “Internal IP”, “Internal Port”, and “ Protocol.”
- Thereafter, tap on “Enable this Entry.”
- Click OK to save the settings that you have made.
TP-Link Port Forwarding Not Working. How to Fix it?
Are you having trouble with your TP-Link Port Forwarding? Is it not working properly? If so, you must know about the key factors responsible for this issue. Under this section, you will find not only the reasons related to TP-Link port forwarding not working but also the troubleshooting tips to resolve this issue. Let’s have an overview of both the reasons and fixes concerned with TP-Link port forwarding not working.
Reasons
- Unstable internet connection
- Malfunctioning router
- Damaged smart device
- Technical errors related to Hardware & Software
- Outdated firmware of router
- Wrong login credentials
- Incorrect port number of the server
Fixes
- Ensure to use the correct protocol (TCP or UDP)
- Verify the router’s settings
- Make sure that you have configured the forwarding rule
- Check the IP address, username, and password before using
- Confirm to use an online port tester to test your Forwarding
- Perform TP-Link router’s power cycle
- If any of the troubleshooting methods work, reset your router to defaults and reconfigure it.
Bottom-Line
Hopefully, after taking a deep dive into this step-by-guide you will be able to perform TP-Link router port forwarding. Not only this but also it will allow you to configure port forwarding rules that you can apply on your router. Ultimately, this blog post is just like a candle in the dark for you.
So, it is the right time to take advantage of the given information and bring it into the application while doing port forwarding on your TP-Link router. In case you have to face any kind of issue in port forwarding on TP-Link router, we are always with you to assist you 24/7.