Home’s State Of Mind
pocket-friendly rates as per the size and layout of your premises
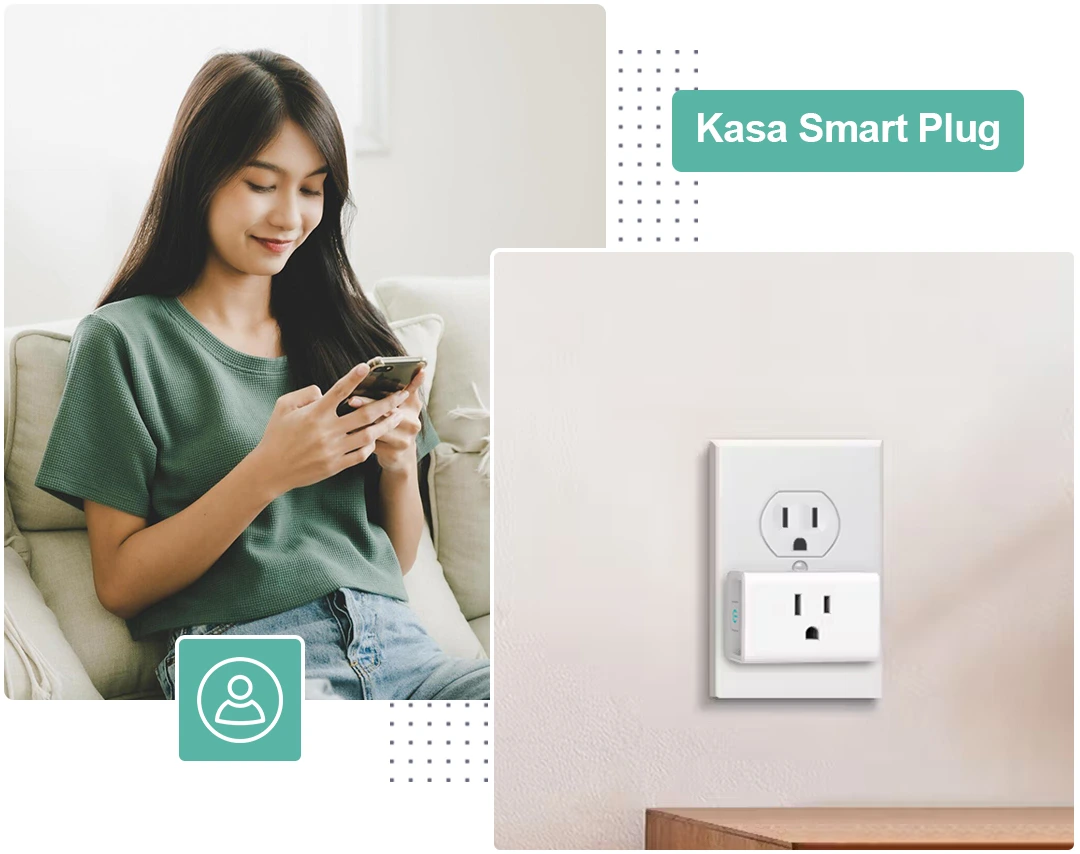
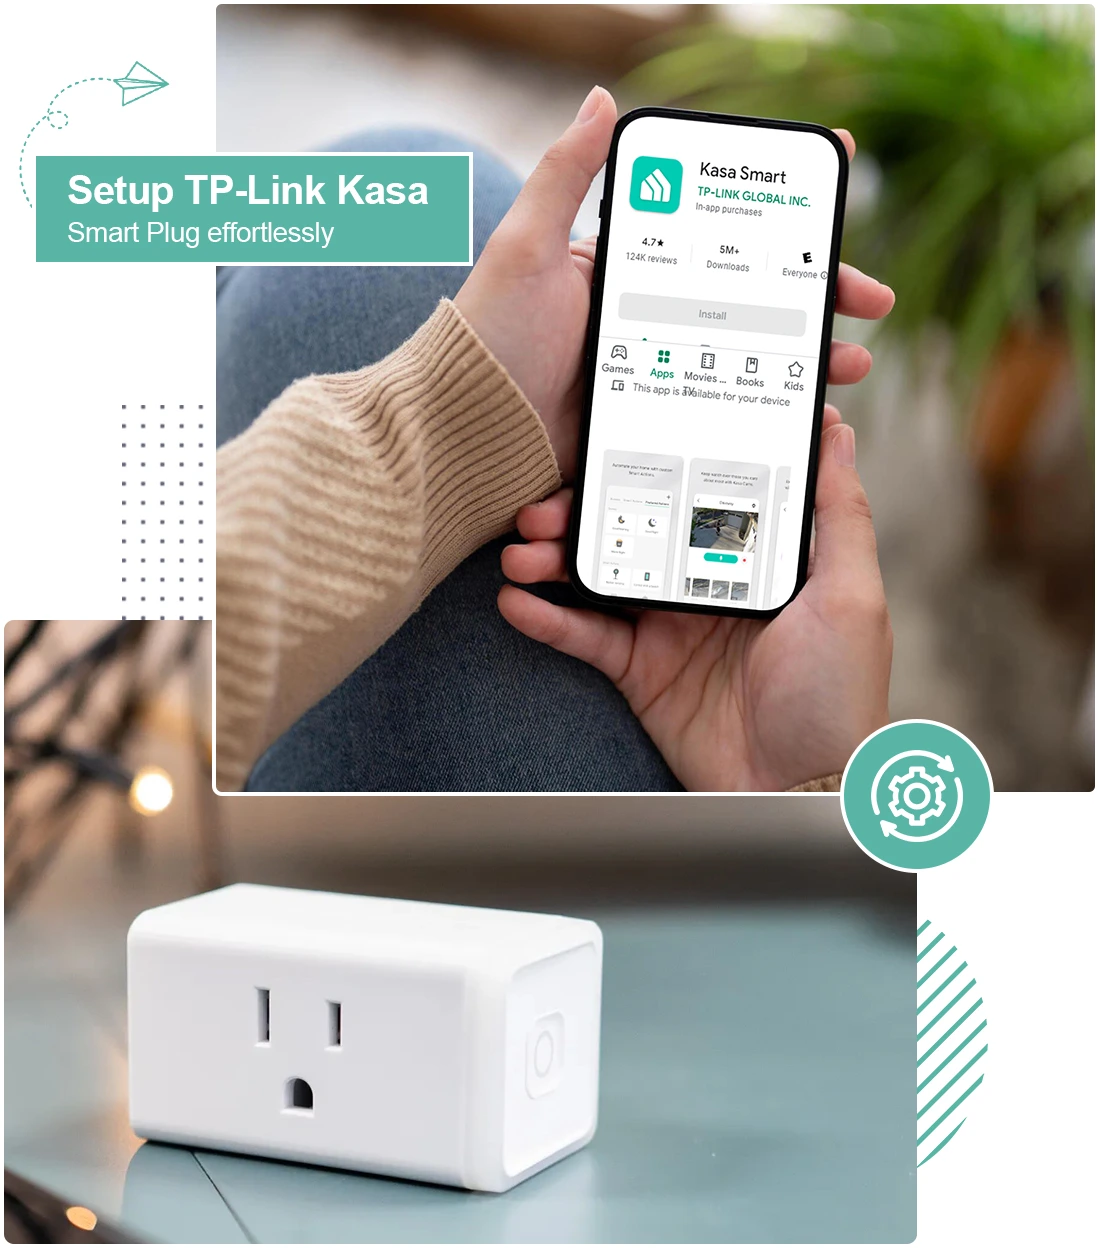
A Brief Tutorial to the Kasa Smart Plug Setup
Nowadays, a range of smart plugs is available on the networking market. Similarly, the Kasa smart plug is one of them and can easily charge your light-duty device with a smart scheduling feature. However, you can use this switch remotely from any of your smart screens without the need for Hub. Additionally, if you want to access this smart plug completely, then must learn the Kasa Smart plug setup first.
In addition to this, you can easily set up a Kasa smart plug through the Kasa app in minutes. Therefore, to assist users with the configuration process, we share this brief tutorial with you. Here, you learn how to connect your smart plug easily and also understand the common issues and troubleshooting methods for them.
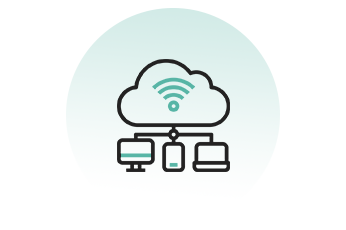
Necessities We Require to Set Up the Kasa Smart Plug
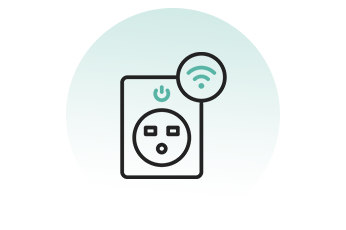
Kasa Smart Plug

Stable Wi-Fi network

Web address
Admin details

Ethernet cable
Smart Device
How to Setup TP-Link Kasa Smart Plug Effortlessly?
Moreover, Kasa outdoor smart plug setup is quite easy process that a non-tech person can easily perform. Likewise, if you have all the necessary equipment and a stable network connection, then proceed with the Kasa app. Additionally, after completing the configuration process you can easily connect this smart plug to the smart home apps, like Google Home. Now, let’s begin with the seamless setup procedure here:
- First and foremost, download and install the Kasa app to your smartphone or tab.
- You can download this app from the App Store or Play Store as well.
- Next, open your Kasa app and create an account.
- After logging in, click on “Add Device”.
- Or, there may be the “+” icon to add a device at the top right.
- Here, select the device type > select the Smart Plugs option>smart plug model.
- Afterward, select the appropriate indoor or outdoor plug based on the device’s model; i.e., “HS100, HS110” for a standard plug.
- Make sure that the Wi-Fi LED indicator flashes orange and blue.
- Now, click on Next on the app.
- Further, visit your phone’s settings and join the plug’s hotspot, showing “TP-Link…”.
- Once connected, go back to the Kasa app.
- Here, wait patiently, till the app connects to your device.
- After that, select the network and type your Wi-Fi network password.
- Hereon, select the 2.4 GHz Wi-Fi network, mention the correct password, and tap on Join to continue.
- Once the app detects and connects to the plug, name your device and tap on Save.
- Next, choose an Icon from the provided option and save.
- Finally, click the “Sounds Good” tab on the congratulations window to access your home screen.
How to Setup Kasa Smart Bulb?
Additionally, setting up your Kasa bulb is as easy as you turn it on. Likewise, this bulb is a smart energy saver and you can change your favorite color by scheduling it. Further, these bulbs are the smarter choice and you can control them from your Kasa app. However, these are compatible with voice assistants, like Alexa, and Google voice assistant. Moving back to the point, to access all these smart features, learn first the Kasa smart bulb setup process.
- Initially, download the Kasa smart app from the Play Store or App Store.
- Now, open your Kasa app account, or create it if you don’t have one.
- Enter the admin credentials that you have for an existing account.
- After that, click on the “+” icon and tap the “Device” tab to choose the Kasa smart bulb option.
- If you are using more than two Kasa devices, then click on the Group icon to manage multiple devices at a single time.
- Afterward, follow the given instructions on the screen and configure your device accordingly.
- Finally, click on Save to apply the settings.
How to Setup Kasa Smart Plug in the Google Home App?
In addition, you can perform the Kasa smart plug setup in the Google Home by following the simple yet easy steps. Similarly, all you need in addition is the Google Nest or Home Speaker, or display to carry out the procedure completely. So, here we begin with the important steps as discussed below:
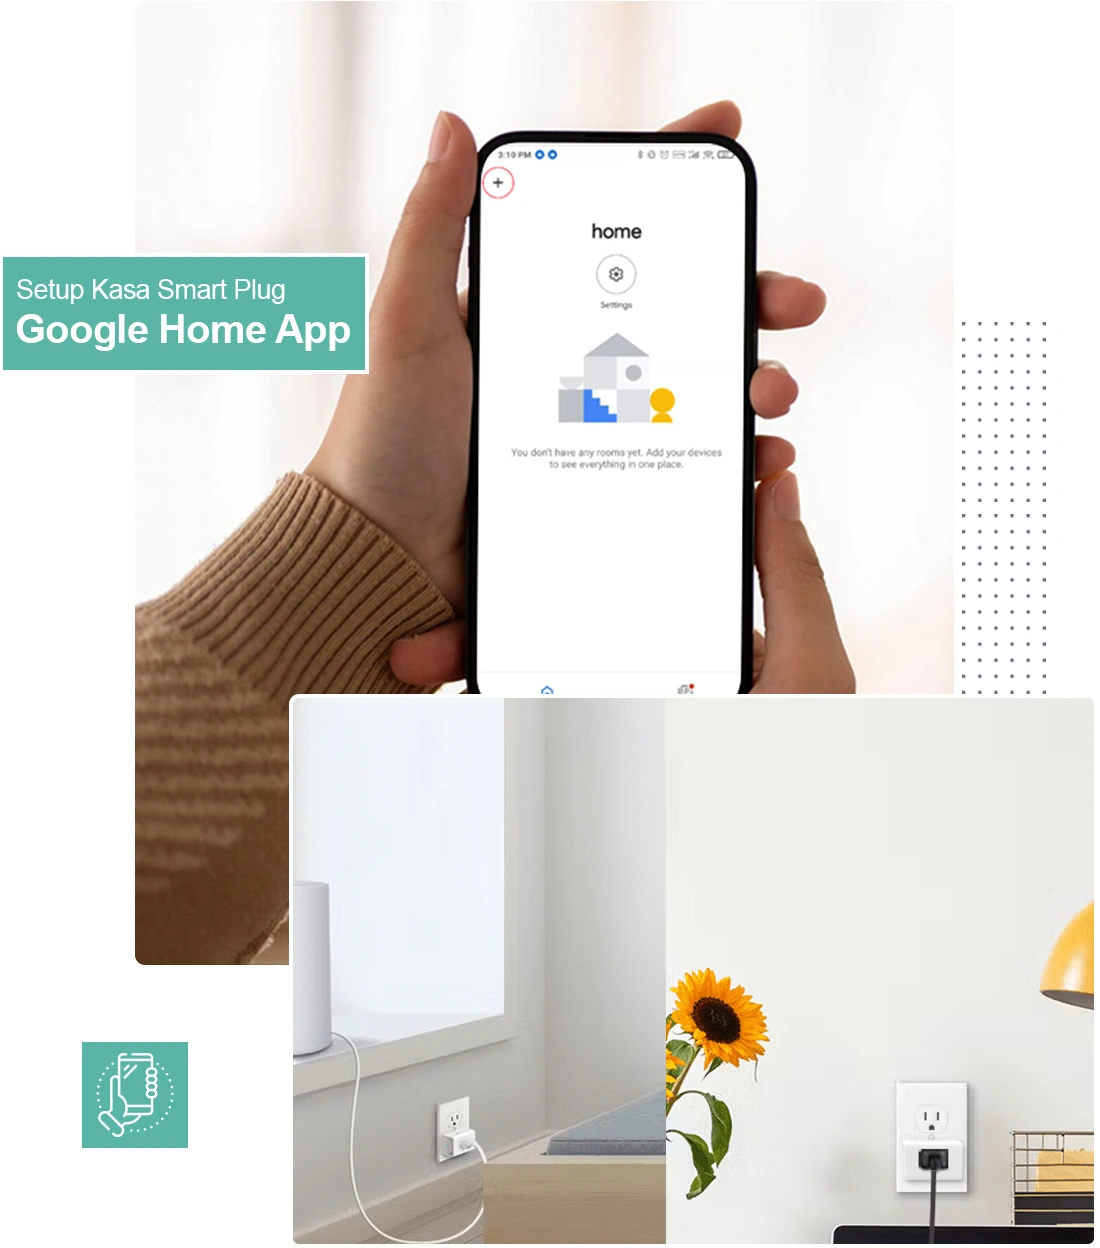
- To start with, set up the Google Nest or Home speaker.
- Next, plug in and power on your Kasa smart plug.
- Next, open the Google Home app and ensure you are using the latest version of the app.
- Further, at the top left, click on Add “+”> Set up device “+” > New device.
- Afterward, follow the on-screen instructions to complete the configuration process.
- Hereon, click on the Home box and then Next.
- Now, a smart plug will scan for the nearby gadgets that are ready to set up.
- Next, scan the Hey/OK Google code on your smart device.
- Also, you can unplug the gadget to scan the QR code.
- Besides this, you can click on Continue without scanning at the bottom,
- Here, you have to enter the 8-digit code on the bottom of the device, near the QR code with Hey/OK Google.
- Place your smart plug in the same room or area where the Google-assistant enabled device is located.
- Wait patiently, till the Confirm Bridging is Enabled on your WiFi router option on screen is completed.
- Now, link your Kasa Plug to your Google account and select the suitable location for your plug, like Left, Right, etc.
- Now, give your plug the desired name and link it with the 2.4GHz network.
- Here, wait patiently, an automatic setup begins now.
- Finally, you can see your device with the given name on the display Home screen.
Final Words
On the whole, the information we share with you will allow you to execute the Kasa smart plug setup process hassle-free. Additionally, all you need is to have an updated Kasa app version. Similarly, you can also learn how to set up the Kasa bulb through the app as well Kasa plug using Google Home. Moreover, the steps are easy to follow but do not skip any of them. If still looking for more help or information, drop us a line here!
Frequently Asked Questions
How to Setup TP-Link Kasa Outdoor Smart Plug?
Install the latest Kasa app on your smartphone and then create an account to setup a TP-Link outdoor smart plug.
Do I Need to log in to Kasa Account to Set Up a Kasa Smart Plug?
Yes, without the Kasa account login, you can’t access the smartplug and its functionality.
How to Setup Kasa Smart Plug With Alexa?
Firstly, open the Amazon Alexa App, and tap on the “Home” icon in the bottom>click the “+” icon in the upper right corner >select”Add Device”> “Kasa Smart” and click on “Continue”.
How to Setup Kasa Smart Plug With Google Home?
To set up your smart Kasa plug, you need a Google Nest or Home speaker and a Kasa account. Open the app, and then Add “+”> Set up device “+” > New device. Follow the instructions given on the screen to configure it.