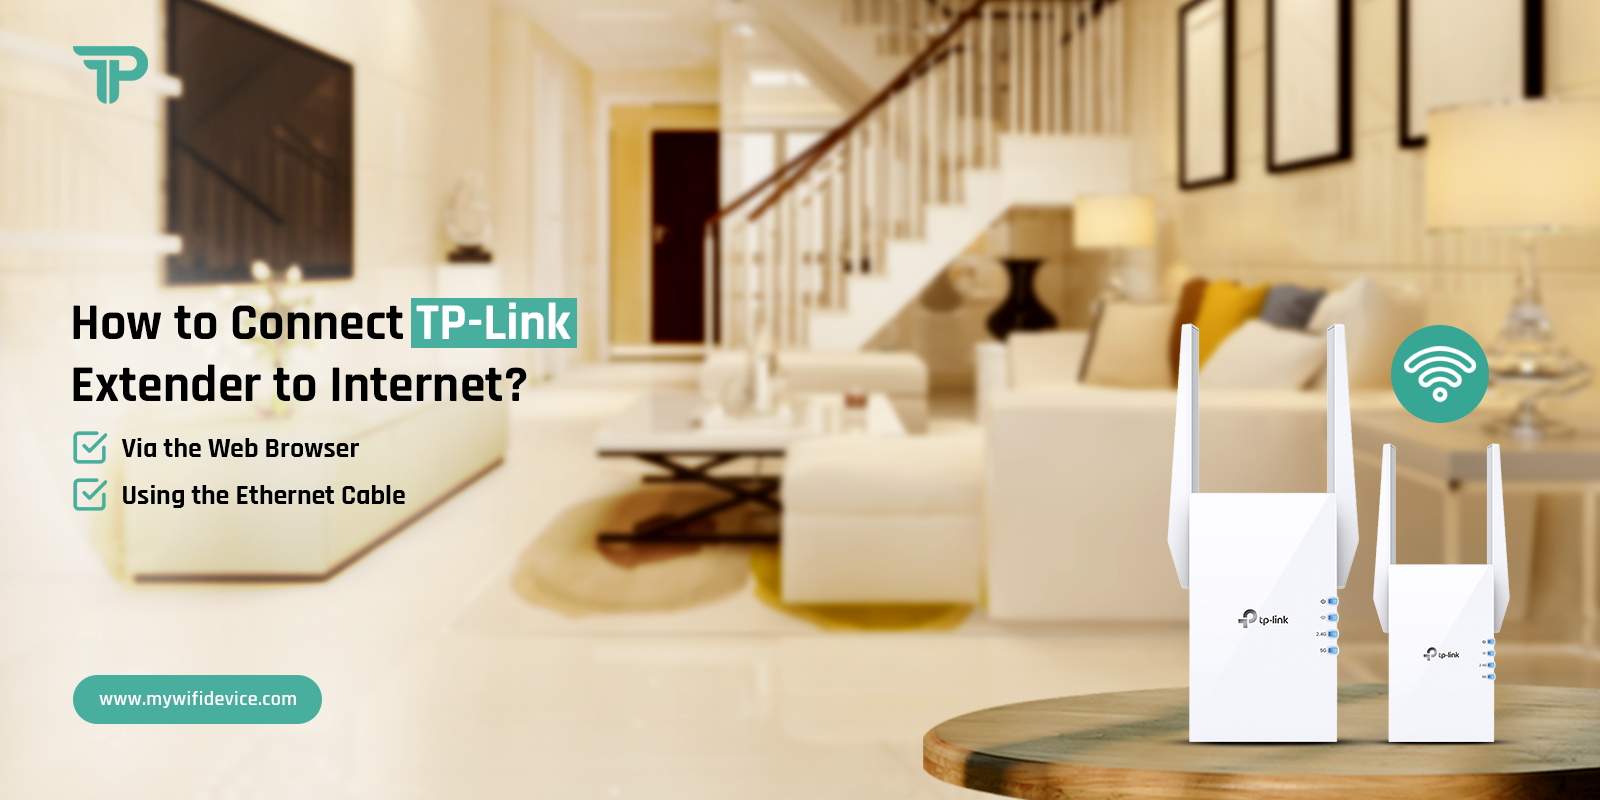
How to Connect TP-Link Extender to Internet?
As the digital world is constantly growing, users must have a stable & reliable Wi-Fi network to complete their daily tasks. To improve the network performance & coverage, this blog will clarify the process of how to connect TP-Link extender. Knowing the complete process of connecting TP Link extender will help you overcome dead zones or achieve a wider Wi-Fi reach in a large home.
This blog post will walk you through the procedure step-by-step, explaining the technical details and providing concise guidance to help you connect TP Link extender. Empower yourself with the knowledge to enhance your Wi-Fi network and promote a more effective and convenient wireless experience. With this in-depth guide, you’ll know the complete process of how to connect TP-Link extender.
Things You’ll Need to Connect TP Link Extender
Before you start connecting the TP-Link extender to your Wi-Fi router, you must gather certain things in advance. It will help you to connect TP Link extender in less time.

A WiFi router

An Active Wi-Fi Connection

A Computer or Smartphone
An Ethernet Cable
Gathering these items will help you streamline the process and connect seamlessly in no time.
Connecting TP-Link Extender
Explore the simplicity of expanding your network with this section on how to connect TP-Link Extender to the router. In just a few steps, you’ll discover the seamless process to enhance your Wi-Fi coverage. So, empower yourself with the know-how to connect TP Link extender effortlessly and optimize your wireless experience.
Connect TP-Link Extender to Router Through the Web Browser
- First of all, use your laptop or smartphone to connect to the TP-Link extender’s local network.
- After that, open a web browser, type in “192.168.0.254” in the, and press the Enter button.
- Consequently, you need to log into your TP-Link using the default username and password.
- Afterward, follow the Quick Setup, click on “Next” to continue, and choose your region.
- Then click on the “Next” button and your extender will automatically scan the wireless networks.
- Later on, choose your specific network, click on the “Next” button, and insert your wireless network password.
- Finally, click on the “Next” button, review the configured settings, and click on “Finish”.
- Now your TP-Link extender will reboot itself, and you can place it at the appropriate place.
Note: The default network name (SSID) and password are often printed on a label on the extender.

Connect TP-Link Extender to Router Using an Ethernet Cable
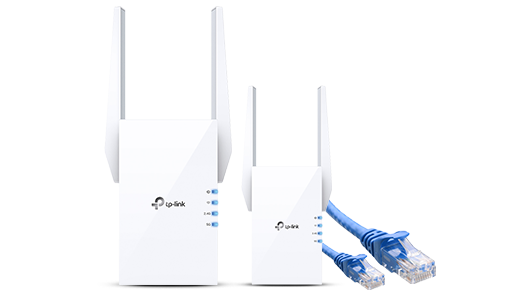
- First of all, plug in your TP-Link extender and make sure it is located within the router’s Wi-Fi network.
- Then, plug the TP-Link extender into an electrical outlet, wait for it to power up, and check the power LED lights on the extender.
- Most TP-Link extender models have an Ethernet port and locate the port on the extender. It’s usually labeled “LAN” or “Ethernet“.
- After that, connect one end of the Ethernet cable to your router and connect the other end to the TP-Link extender.
- Finally, your TP-Link extender will successfully connect to the router.
Note: You should see the extended network created by your TP-Link extender. Connect to it using the provided password, if any.
Reasons Behind TP-Link Extender Not Connecting to the Internet
If your TP-Link extender can’t connect to this network, there could be multiple reasons behind it. Through this section, you will learn some common reasons behind your TP Link extender not connecting to the internet.
- The cable connections you are using are either loose or faulty.
- There are minor bugs & glitches in your TP-Link extender.
- Your TP-Link extender is wrongly configured.
- The TP-Link extender is located outside your router’s Wi-Fi network.
Being aware of these reasons is not enough for you. So, keep reading to know the troubleshooting methods that will help you resolve the TP-Link extender that can’t connect to the internet.
Troubleshooting TP Link Extender Not Connecting to Internet
Now you know the reasons why your TP-Link extender can’t connect to this network. So, go through the following steps to resolve this issue.
Check the Cable Connections
- Connecting TP-Link extender to the router may interrupt if there’s any intervention in the cable connection.
- This intervention will happen mainly due to damaged or loose cable connections.
- Therefore, you need to ensure that all the cables are not damaged at all and are tightly fixed at their places.
- If you see any damaged cable, replace it and tighten all the cables.
Power Cycle TP-Link Extender
- If you see your TP Link extender not connecting to internet, it may also happen due to minor bugs & glitches.
- You can easily remove these minor bugs & glitches by power cycling your TP-Link extender.
- To power cycle, switch off the power source to which the extender is connected.
- After that, you must wait for a few minutes and switch on the power source.
Re-Configure the TP-Link Extender
- You also need to make sure that you have configured the TP-Link extender accurately.
- If you think that it has not been configured correctly before, consider re-configuring it.
- Re-configuring it will allow you to connect the extender to the router successfully.
Re-Locate Your WiFi Extender
- Another possible reason behind your TP-Link extender can’t connect is that the extender is located outside router’s network.
- If the extender is located too far from the router, it won’t receive any Wi-Fi connection and it won’t be able to extend it further.
- You can fix this issue by relocating your TP-Link router within your router’s Wi-Fi network.
These are some troubleshooting methods you can try to resolve the issues of TP Link extender not connecting to internet. If there are any other difficulties you are facing with your TP-Link extender, you can get in touch with our technical team right now.
The Bottom Line
If you are wondering how to connect TP-Link extender, the effective methods in this blog post will teach you to set up your TP-Link Extender easily to extend your Wi-Fi network. Also, it will eliminate all the dead zones, and allow you to enjoy the internet experience across your property. Choose a way that best suits your needs and get ready to enhance your Wi-Fi network effortlessly.
But if you are unable to connect TP Link extender to the internet, feel free to connect with our technical experts. They’ll guide you through the complete extender setup process and help you resolve the possible setup issues.
Frequently Asked Questions
Can I Connect a TP-Link Extender to Another TP-Link Extender?
Yes, you can connect a TP-Link extender to another TP-Link extender. However, for optimal performance, it is advised to have one or two range extenders in a single network. For the benefit of the second extender’s performance, wirelessly linking one range extender to another is not highly advised.
Does the TP Link Extender Connect to Any Router?
Indeed, TP-Link wireless extenders work with any kind of conventional wireless router. They employ Wi-Fi technology and standards that are industry standard. By pushing the WPS button on your router, you can link a TP-Link extender to it.
How to Check the Router Has Connected Successfully?
When you have a wireless network issue, the signal light on your router will blink more quickly, indicating that there is a network. Maybe it won’t flash at all, or it will flash slowly.