How to Port Forward a TP-Link Deco?
TP-Link Deco is a smart mesh Wi-Fi system that offers seamless wireless coverage for homes and commercial places. It’s cutting-edge networking technology and user-friendly interface provide you with uninterrupted internet services. Likewise, TP-Link Deco includes as a reliable and efficient network solution through a port forwarding feature. Hence, to enhance the mesh performance, one must know about the TP-Link Deco port forwarding first.
Additionally, Port forwarding permits users to open specific ports on the router to enable remote access or hosting services. If you are looking for assistance with how to port forward the TP-Link Deco complete process whether you prefer using the web interface or the dedicated TP-Link Deco app, this guide is for you. To know the requirements and steps to begin the procedure, stay focused on this post.
Requirements to Port Forward TP-Link Deco
Before you embark on the port forwarding journey, make sure you have the following prerequisites in place:
- Stable internet connection
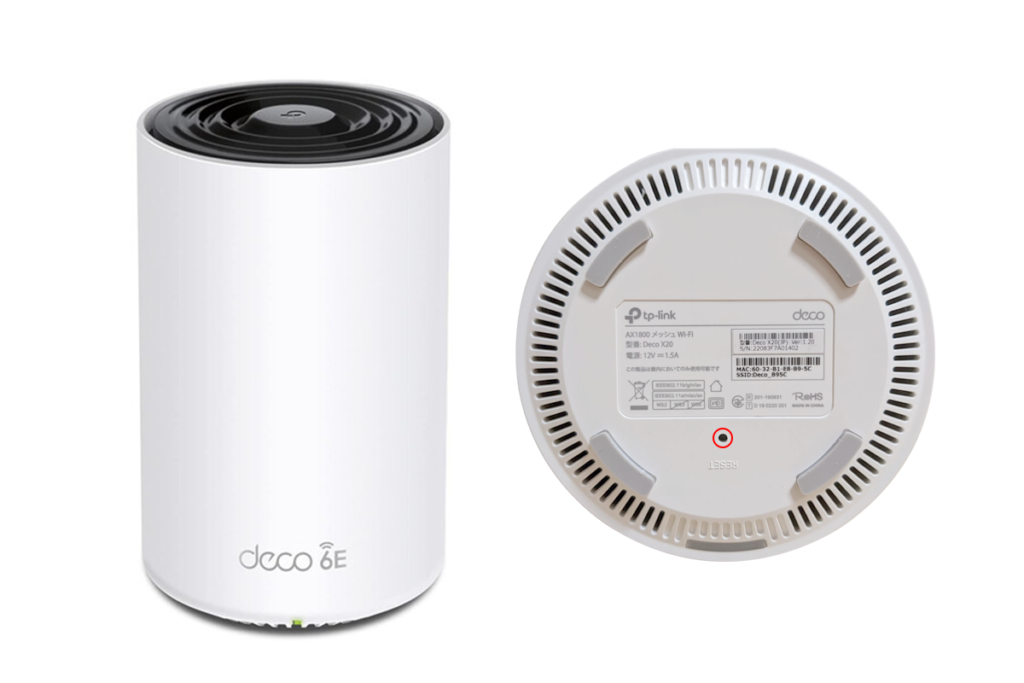
- TP-Link Deco mesh system
- Web address
- TP-Link Deco app
- Admin details
- Static IP
- Computer/Laptop
- Ethernet cable
How to Port Forward TP-Link Deco Effortlessly?
Moreover, port forwarding is essential for enabling remote access to your network devices. The proper direction of incoming requests to the planned device is necessary for certain applications and services to function correctly without it. Likewise, by setting up port forwarding, you can ensure that your devices can communicate with the internet efficiently and securely.
Besides this, you can perform port forwarding TP-Link Deco through the web address and the TP-Link Deco app. Additionally, we explain the methods and the steps to begin and finish the procedure.
TP-Link Deco Port Forwarding Through the Web Address
- Initially, check that your Deco system is powered on.
- Next, connect the mesh network to the laptop or computer that you have.
- Now, open the web browser and type http://tplinkdeco.net or web address 192.168.68.1 IP.
- A login window prompts you.
- Here, enter your admin details and press Login.
- You now visit the smart Home dashboard of the mesh system.
- The first task is to assign a Static IP to your TP-Link Deco mesh.
- So, click on the DHCP Reservations and assign a static IP to your mesh system.
- Afterward, go to the Network” or “Advanced” section, as per the mesh units you have.
- Type the static IP address that you get initially.
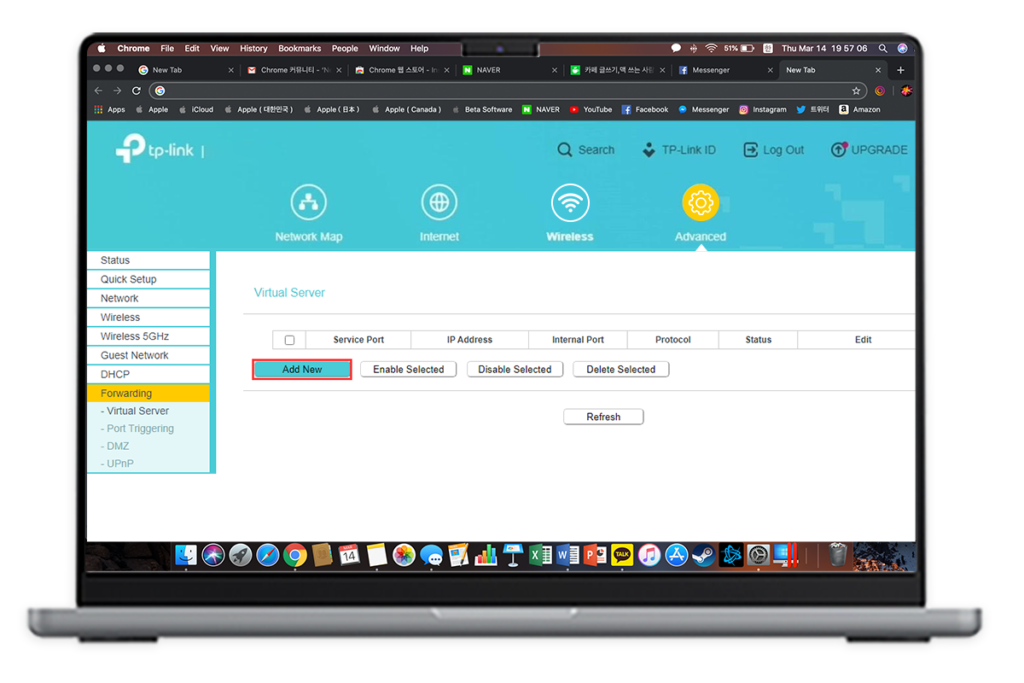
- Further, click on the Port Forwarding and choose TCP / UDP on your TP-LINK Deco.
- Furthermore, click on “Add New” or “Add” to create a new rule.
- Hereon, type a descriptive name for the port forward rule.
- If you look at a section called “External IP addresses”, then type 0.0.0.0 in it.
- Ensure the “Enable” checkbox is selected if present on your TP-LINK Deco mesh.
- Click on Save when you finished the process.
- Finally, you can test the port forwarding setup from your game server or end application.
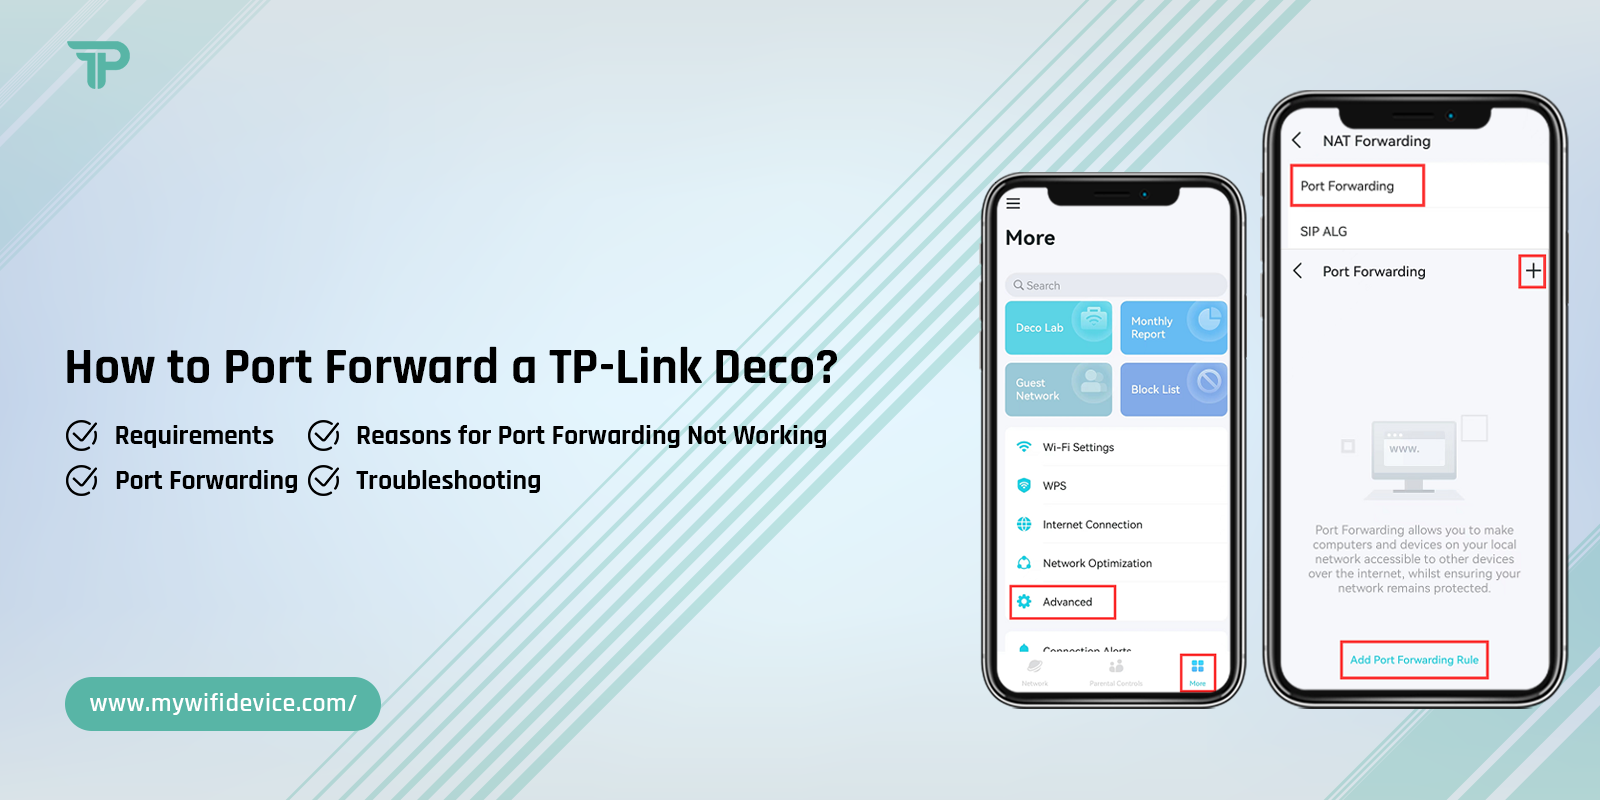
Port Forwarding TP-Link Deco Using the TP-Link Deco App

- First and foremost, download and install the TP-Link Deco app on your mobile device.
- You can find the app in the App Store for iOS or Google Play Store for Android.
- Now, open the app and create an account here.
- If the app is already running on your smartphone, then log in using the admin credentials you have.
- After logging in, navigate to the More-> Advanced->NAT Forwarding->Port Forwarding” section.
- Hereon, click the “+” icon on the upper right corner to “Add New Port Forwarding Rule” or a similar option to create a new rule.
- Next, select the Service Type, type in the Service Name, and tap Internal IP.
- Further, type in the External Port and Internal Port (Service Port), then click Save to add a port forwarding rule.
- Also, enter the local IP address of the device you want to forward the ports to.
- Give the rule a memorable name to make it easier to manage the port in the future.
- Lastly, hit “Save” or “Apply” to save your settings.
Why is the Port Forwarding Not Working?
Generally, there are several reasons for port forwarding not working on the TP-Link Deco mesh system. Additionally, it can be specifically due to improper configuration or not providing the Static IP to the router unit. Sometimes, errors may occur if you leave or fill incorrect information in the External IP address field.
Similarly, a VPN, Firewall, or antivirus will also prevent the port forwarding from working properly. Hence what are the solutions to this problem? No worries, we are here for you. You can use the fix-outs that we explain to you in this section.
- Examine the port forwarding settings on your router and reconfigure them if not correct.
- Also, look at the External IP field and enter the accurate information in it.
- Occasionally, a Firewall or another security software prevents the connection access from different subnets. So, check it and make the necessary changes as per the given instructions on the screen.
- Must check that you have entered the accurate IP address.
- Make sure you entered a different port name in the multiport-forwarding.
- If still issues arise, then reboot your TP-Link Deco mesh once. It will fix the temporary glitches.
- If none of the above-given methods work, then factory reset your Deco mesh system.
How to Fix TP-Link Deco Port Forwarding Not Working?
Additionally, the TP-Link Deco port forwarding is a complex process but not impossible. You simply need to follow the steps carefully. Likewise, users occasionally get confused with this operation and face port forwarding failure and other issues. To assist them, we share the relevant troubleshooting methods below:
Restart Your TP-Link Deco System
- Give your Deco devices a quick power cycle
- It can resolve any temporary glitches.
- Remove the mesh unit, computer, and modem.
- Wait for at least 30 seconds and plug them back.
Enter the Correct Port Numbers
- Double-check that you’ve entered the correct port numbers for your application or service.
- If they are incorrect, you can’t proceed further.
- So, enter the correct details.
Fix Firewall Interference
- If you have a separate firewall enabled, it conflicts with your port forwarding settings.
- Make sure your firewall rules allow traffic through the forwarded ports.
- If they do not, disable it for some time.
- Re-enable it after completing the process.
ISP Restrictions
- Some Internet Service Providers (ISPs) impose restrictions on port forwarding
- Or they use carrier-grade NAT, which can limit your ability to forward ports.
- Hence contact your ISP to check if any restrictions apply.
Reset Your TP-Link Deco
- If everything else fails, then hard reset your mesh system.
- Look for the reset button on the main Deco unit.
- Press and hold it for 10-20 seconds and then release.
- Now LED flashes stable and it shows your Deco system reverts to its default settings.
Final Thoughts
All in all, TP-Link Deco port forwarding is a complex process but can be done easily by following our guide. The port forwarding can greatly enhance your network’s capabilities. You can choose any of the methods as the web interface and the TP-Link Deco app to configure port forwarding on the mesh system. If you face any issues with the process or port forwarding TP-Link Deco does not work, then must check with our troubleshooting section. If you want more information regarding port forwarding, then must approach us here!